Rasa & Papercups
Papercups is an open source messaging platform similar to Intercom, Zendesk and Drift that includes multi-platform chat widgets that can be used with Rasa.
About Papercups
You can use Papercups to manage customer conversations that come from chat widgets, SMS, email or Slack. Agents can communicate with customers via the Papercups admin UI as well as Slack, Mattermost and SMS.
There’s a free hosted version or you can checkout their github repo and host it yourself.
Papercups & Rasa
Papercups supports webhooks and an API to connect to other services like a Rasa chatbot. In this post, we’ll create a Papercups account and configure it to connect to an existing Rasa chatbot. In a future post, we’ll look at how to transfer a user from a Rasa chatbot to a Papercups live agent.
Setup Papercups
Setup a free Papercups account at https://app.papercups.io (If you’d prefer host your own Papercups server. See the github repo which has docker-compose files to quickly get a server running). Once you’ve logged in, do the following:
- Under the console icon
Developersmenu, selectAPI Keysand choose theGenerate new API keybutton. Give the key a name and save the generated key.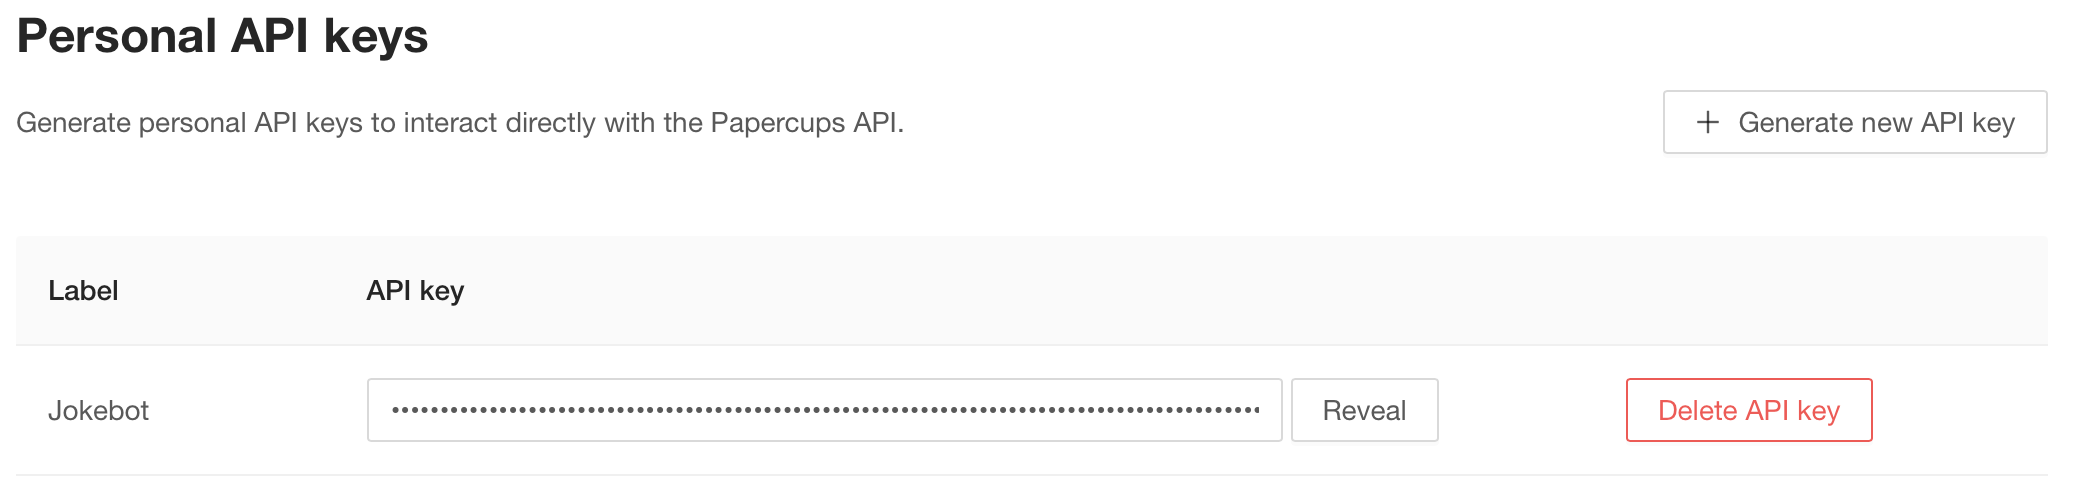
Papercups Customer Access
With Papercups, you can configure multiple input source channels for your customer. We’re going to use a web chat widget but you can also use email, slack and SMS via Twilio.
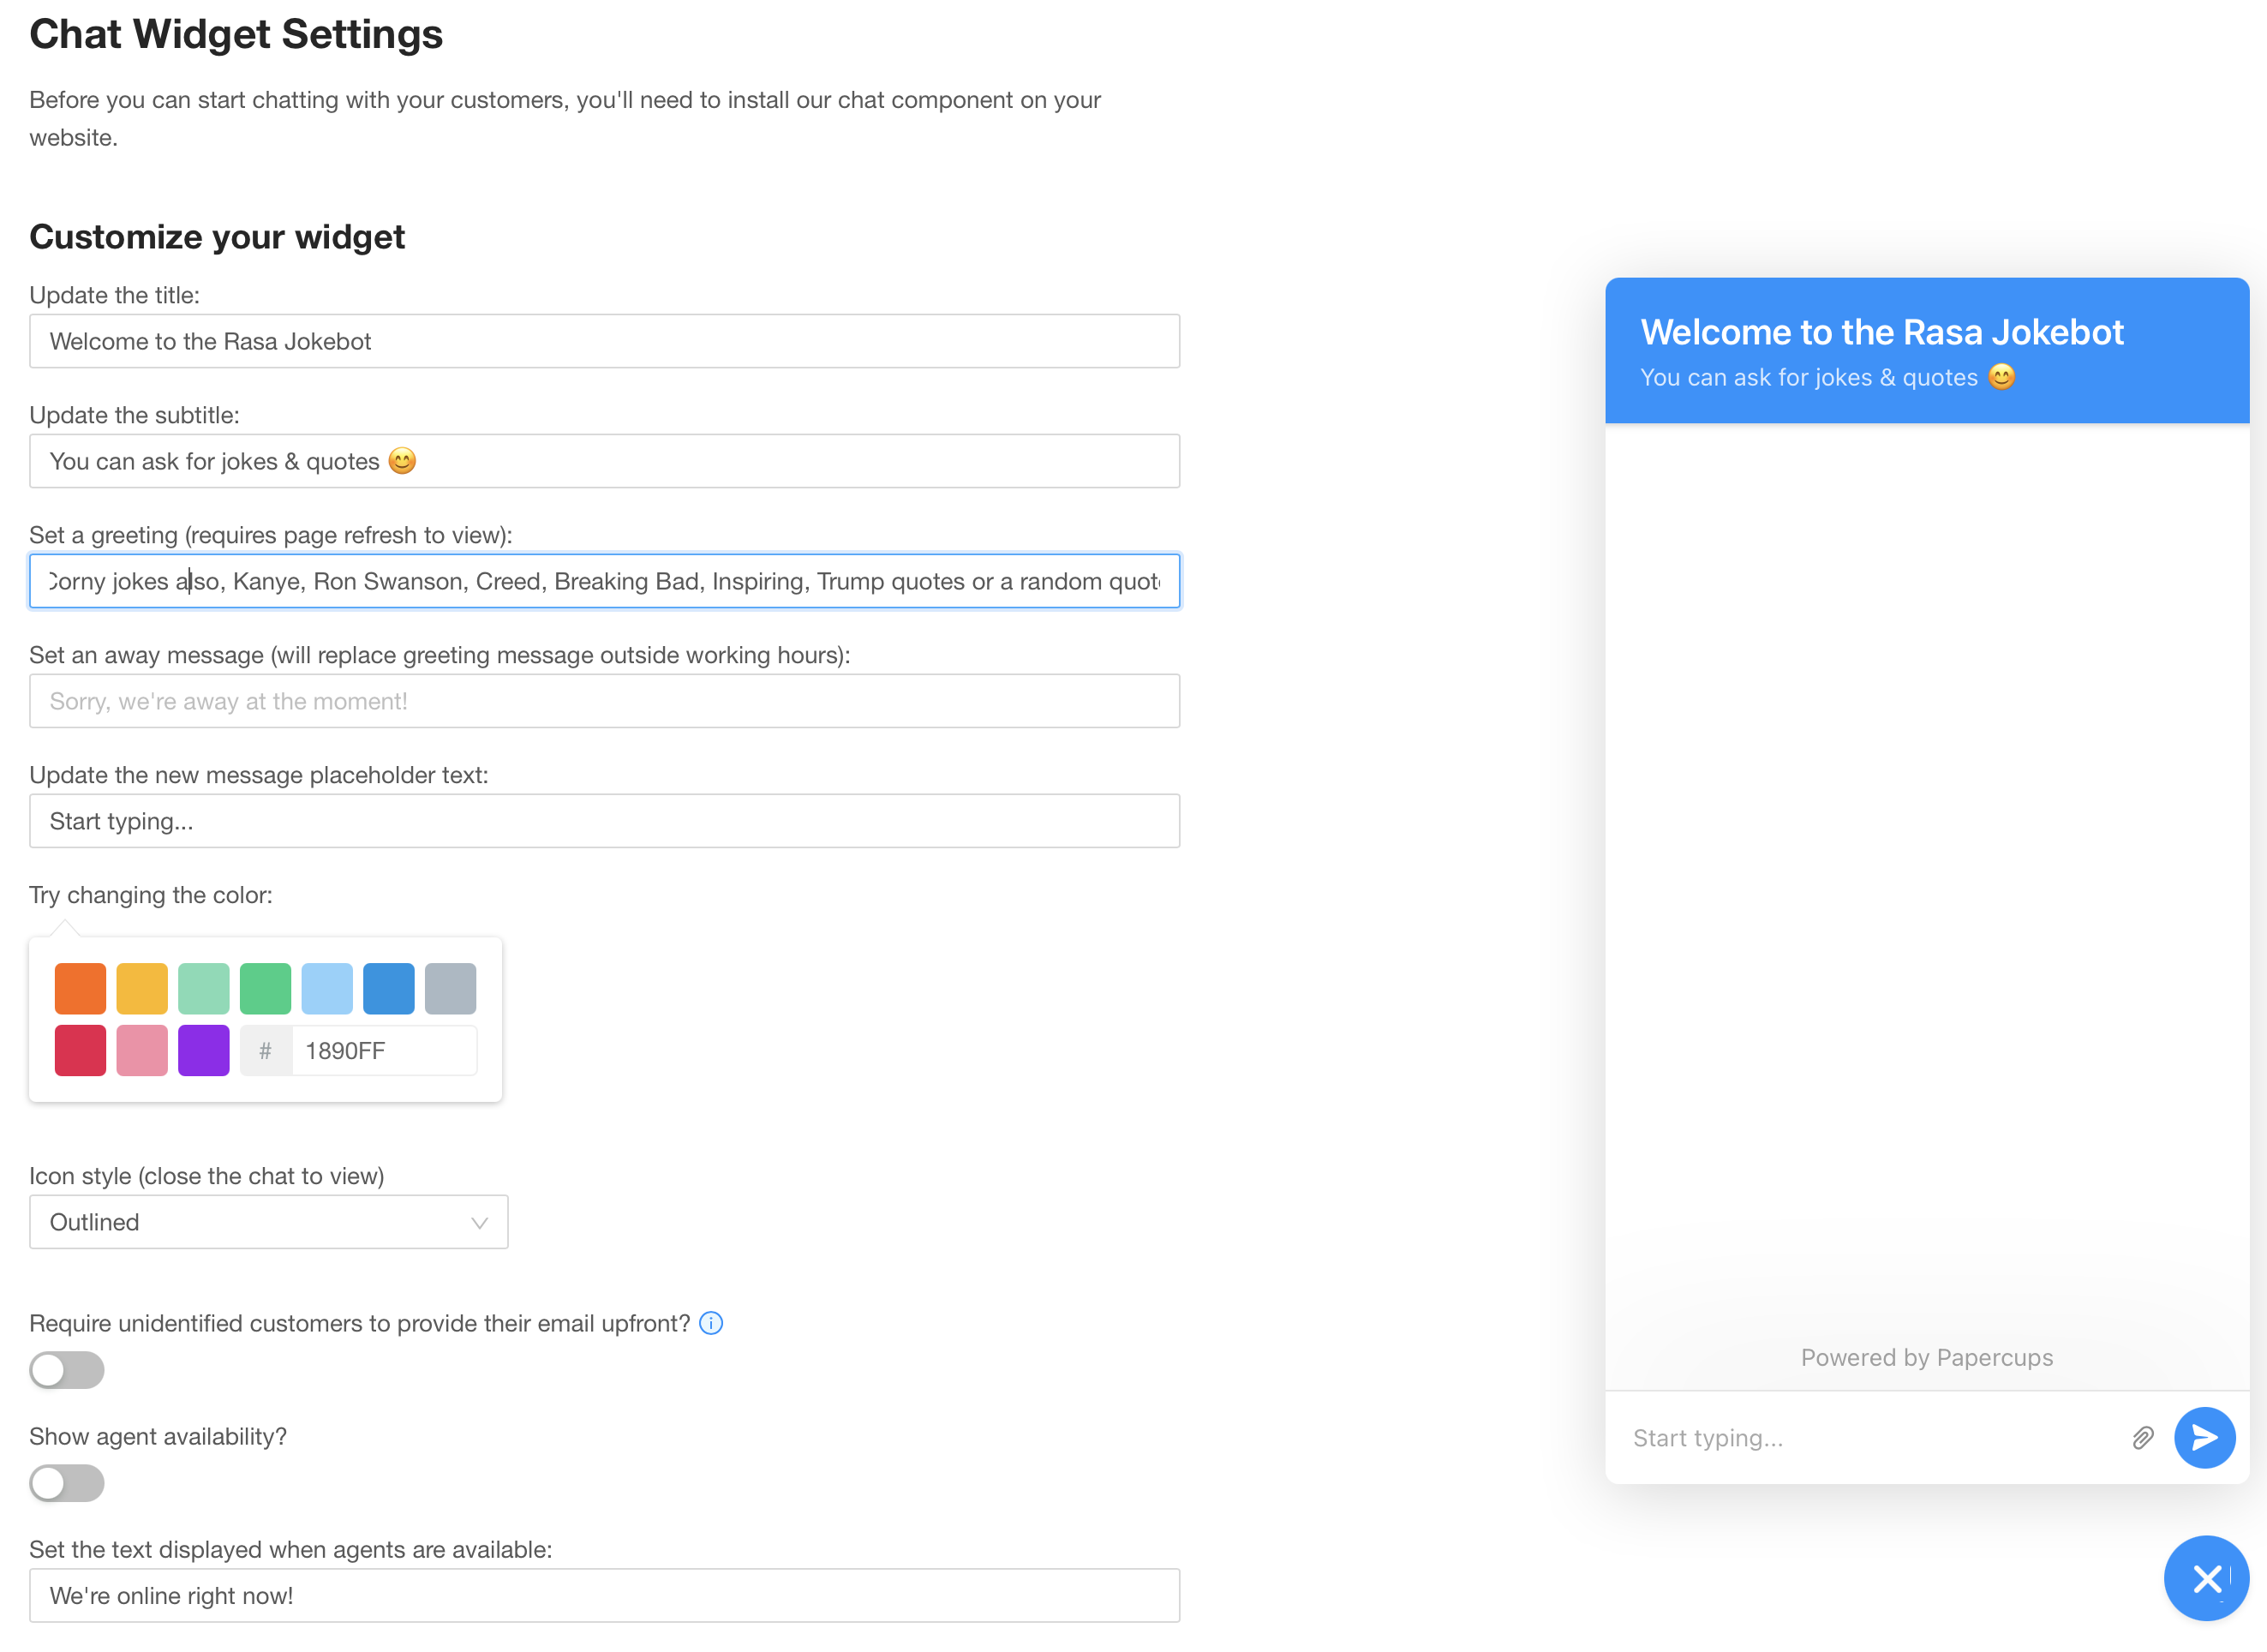
To configure the chat widget, go to Integrations and click Add next to the Live chat input channel. Set your widget options and scroll to the bottom and copy the HTML or React content which you will use on your website.
Configure Rasa Papercups Channel
Rasa channels allow you connect voice and messaging channels to a Rasa bot. I’ve created a Rasa Papercups channel that supports the Papercups webhook interface. There’s a Rasa docker image, stephens/rasa-papercups that includes the channel.
To use the channel, pull the image and configure the credentials.yml with the papercups channel settings using the token from your Papercups account. You can find the account token in Papercups under the Settings > Account menu.
rest:

papercups:
  token: "SFMyNTY.g2gDbAAAAAJoAmQAB3VzZXJfaWRhAWabcAAKYWNjb3VudF9pZG0AAAAkMTBlOTlkZDUtMjU1ZS00ZmMzLWExNGUtYmEwZTg3MTVkZTYyam4GAGKecSV8AWIAAVGA.nh6-aBF8v0xNOcy_1O1anSdvw5oh5ENG2VsqeSUQxyz"
  url: "https://app.papercups.io/"
Restart your Rasa bot with the new channel and credentials.yml configuration.
Configure Papercups Webhooks & Test Widget
Now that we have the Rasa channel for Paperdcups configured, we need to setup the Papercups webhooks to forward messages to the Rasa channel.
- Under the console icon
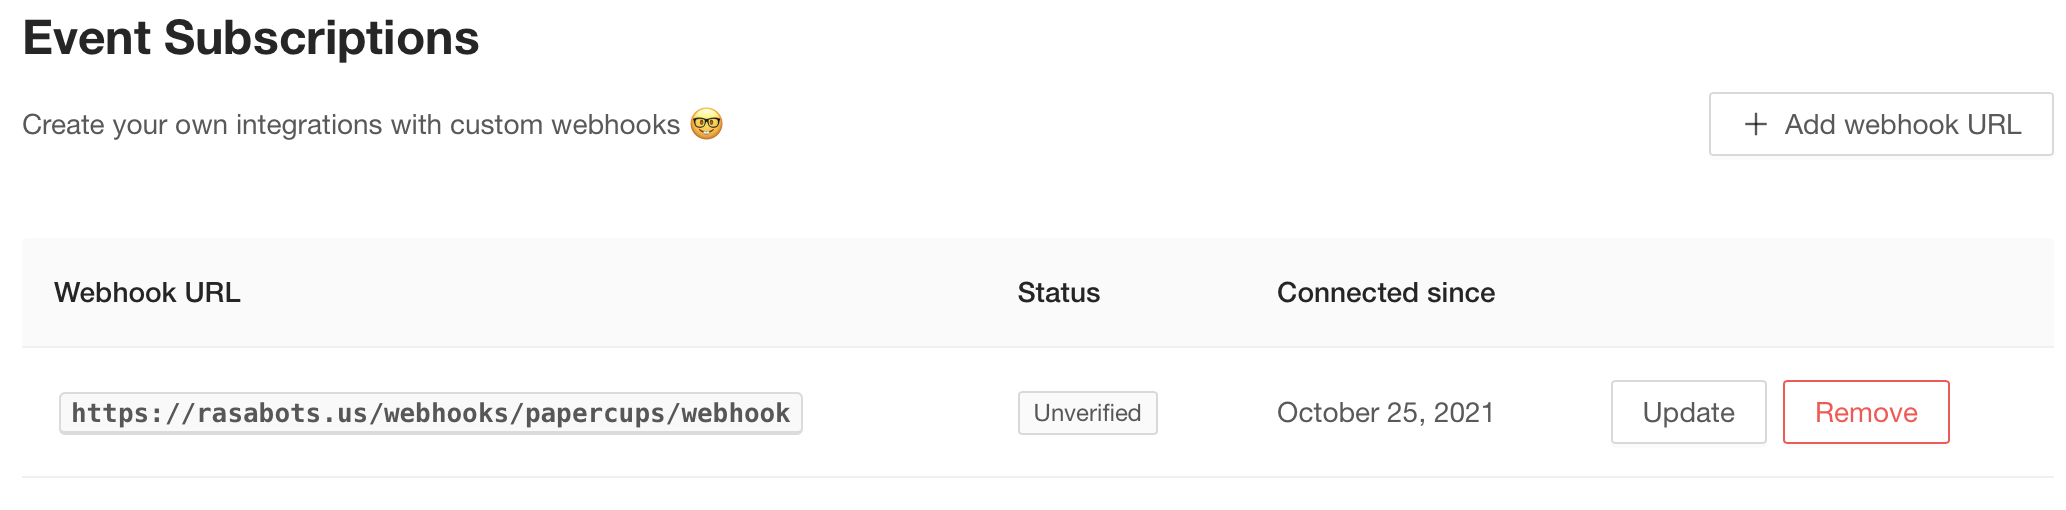
Developersmenu, selectEvent Subscriptionsand choose theAdd webhook URLbutton. Enter the URL to your Rasa chatbot Papercups channel and click Save.
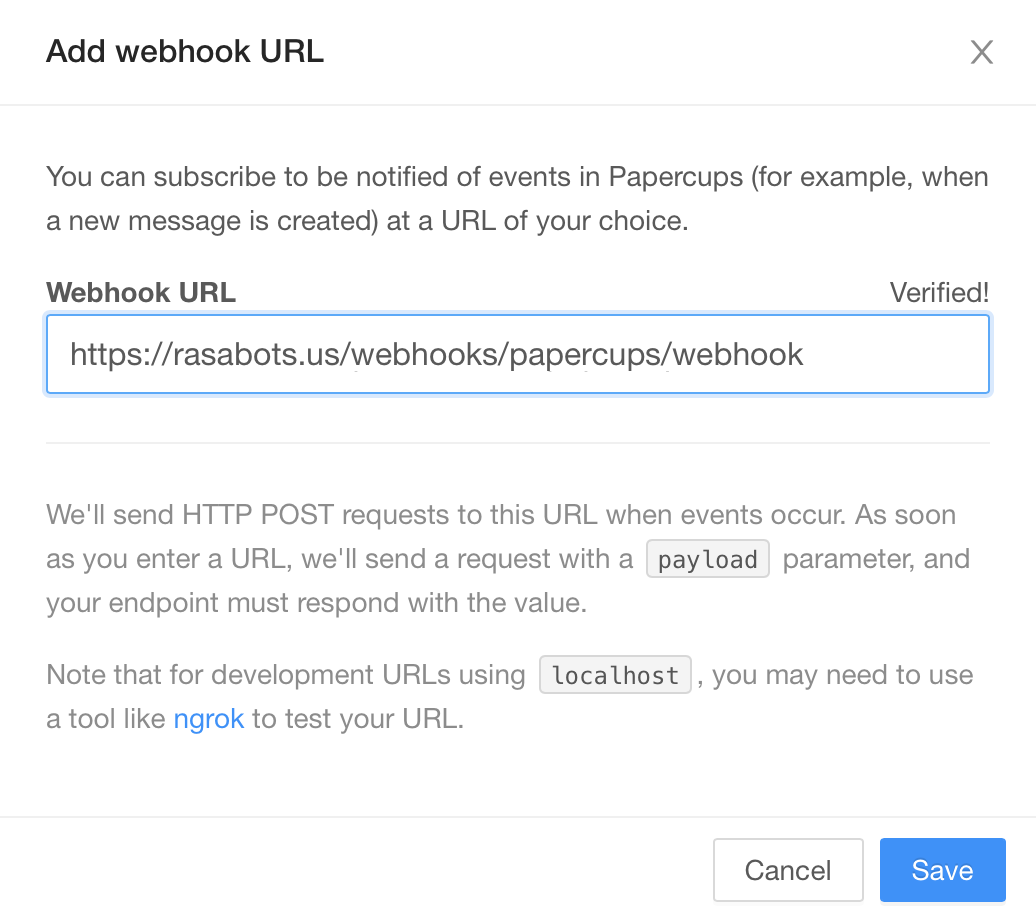
The Papercups server will attempt to connect to the Rasa channel to verify the endpoint. You should see the endpoint listed with Verified if it successfully connected to the Rasa channel.
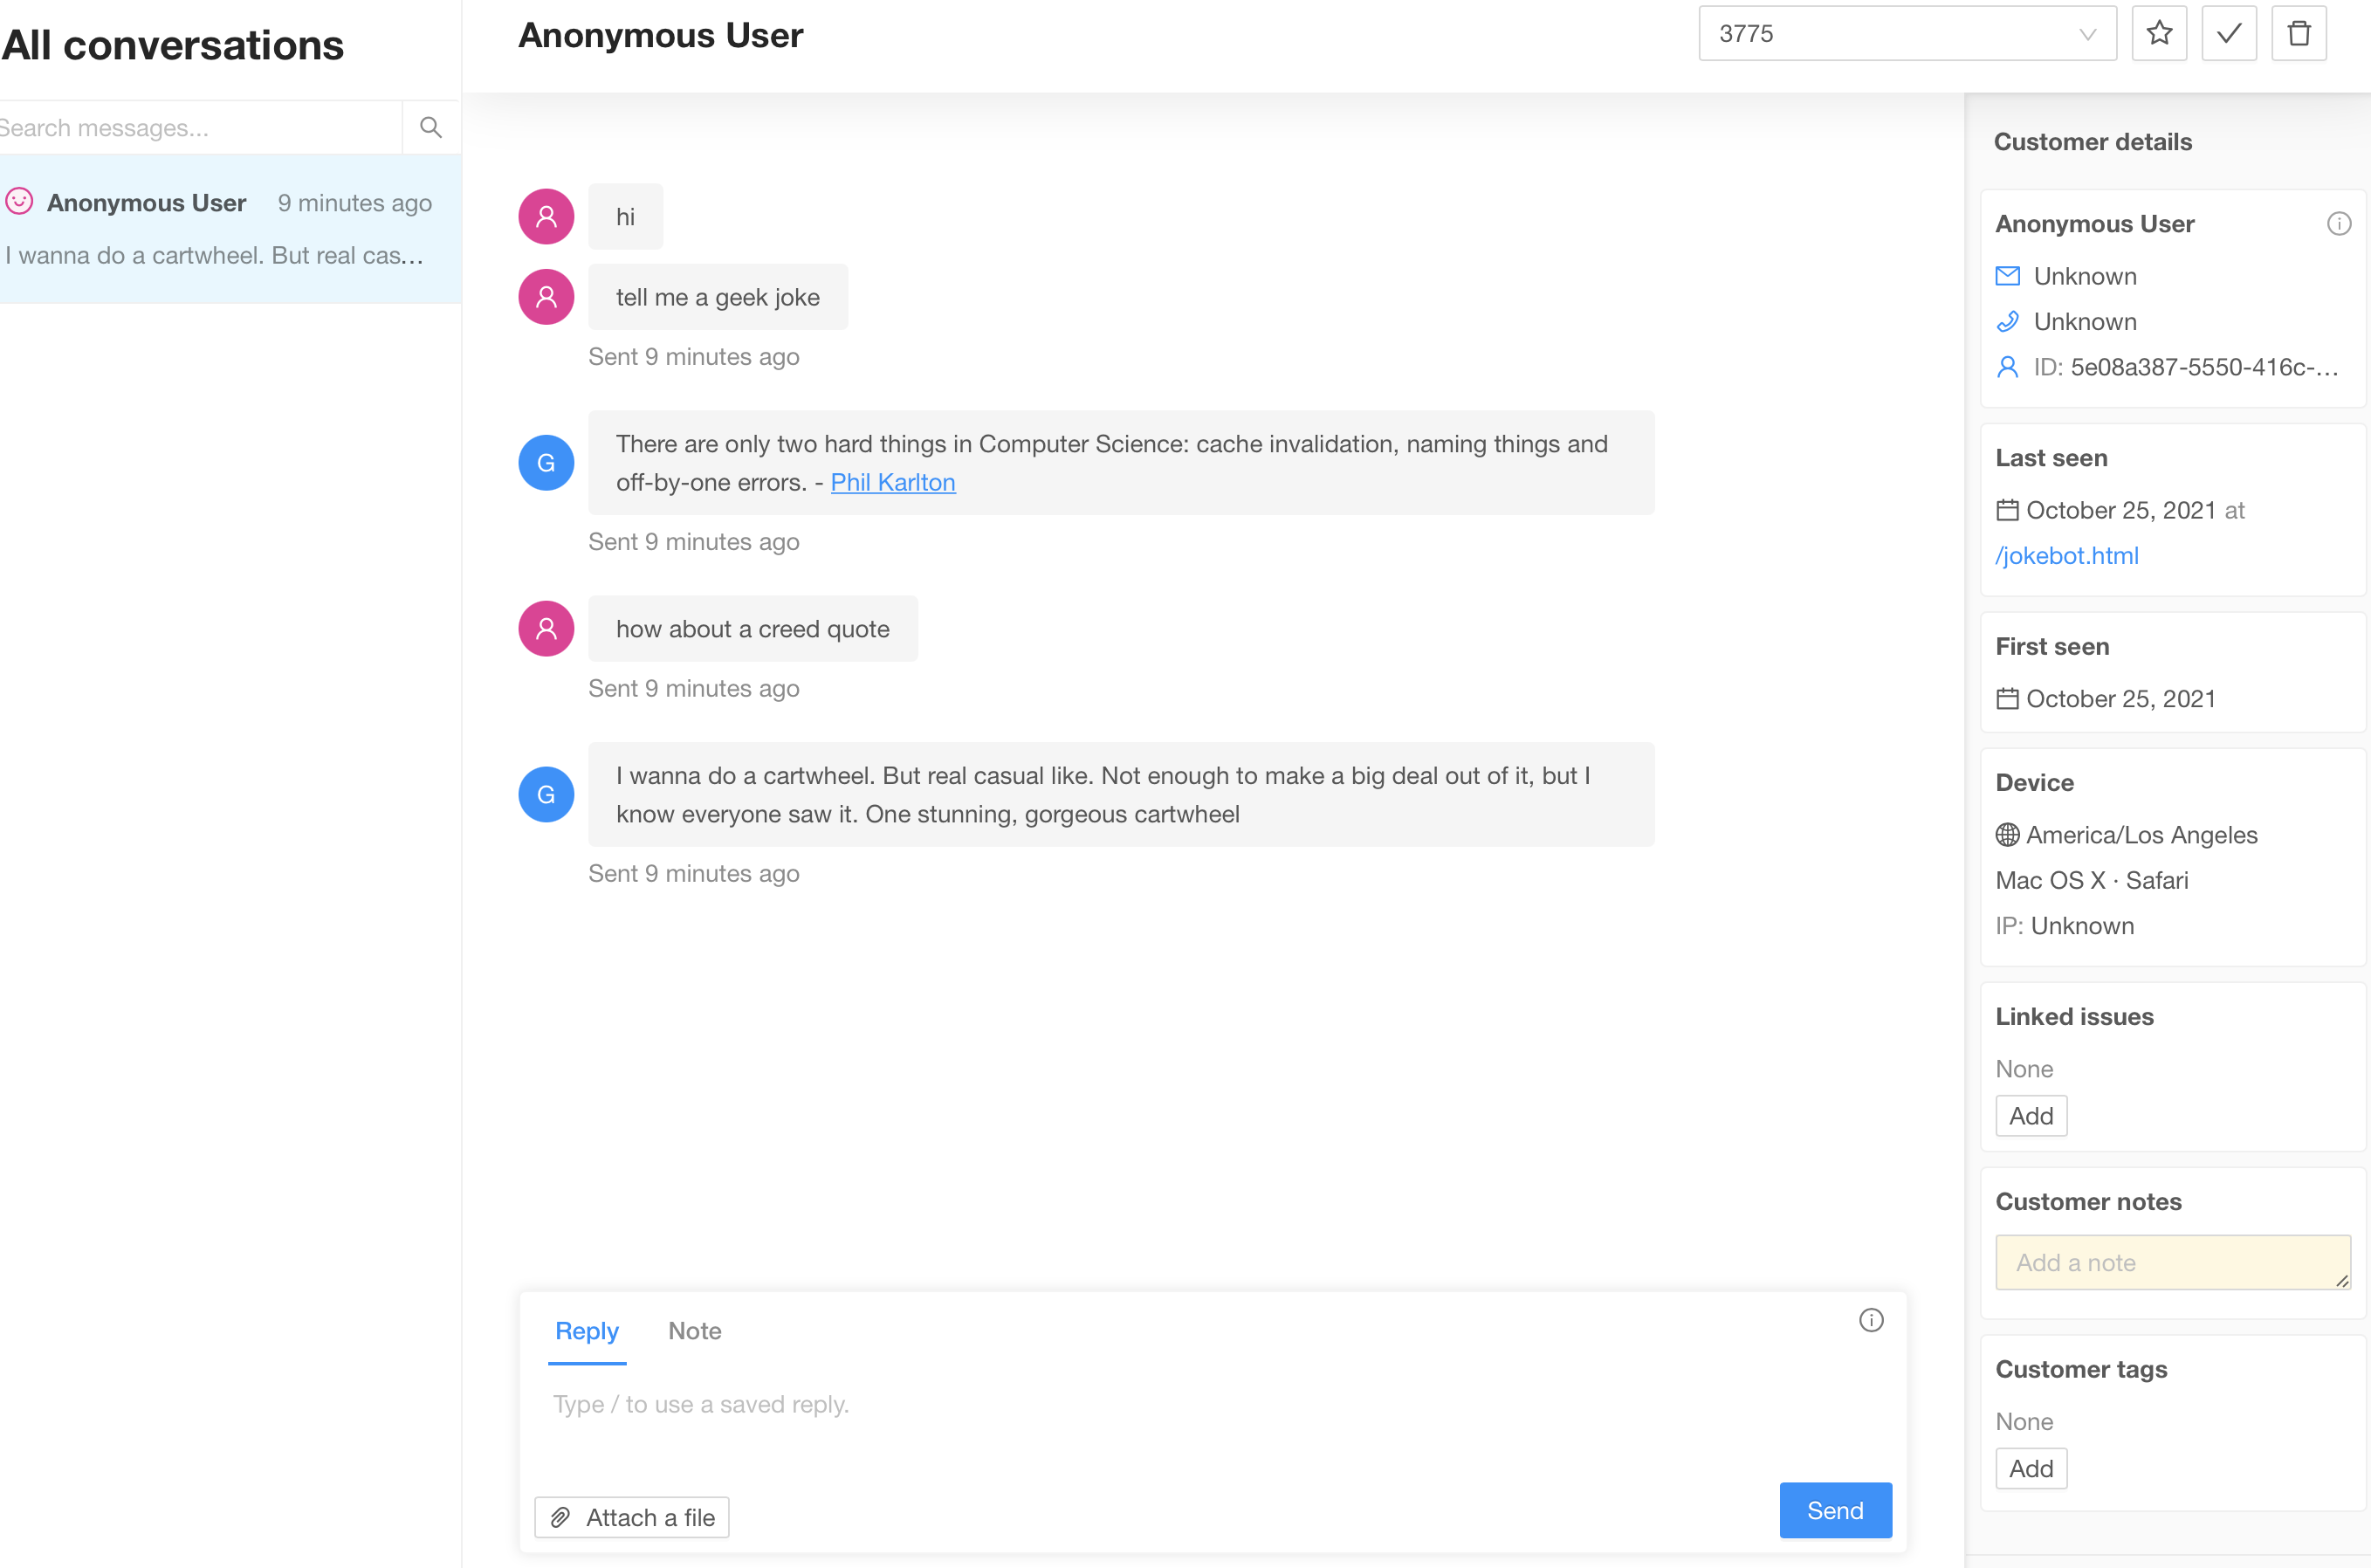
Once the channel is connected, we should be able to use the chat widget to talk to our Rasa bot:
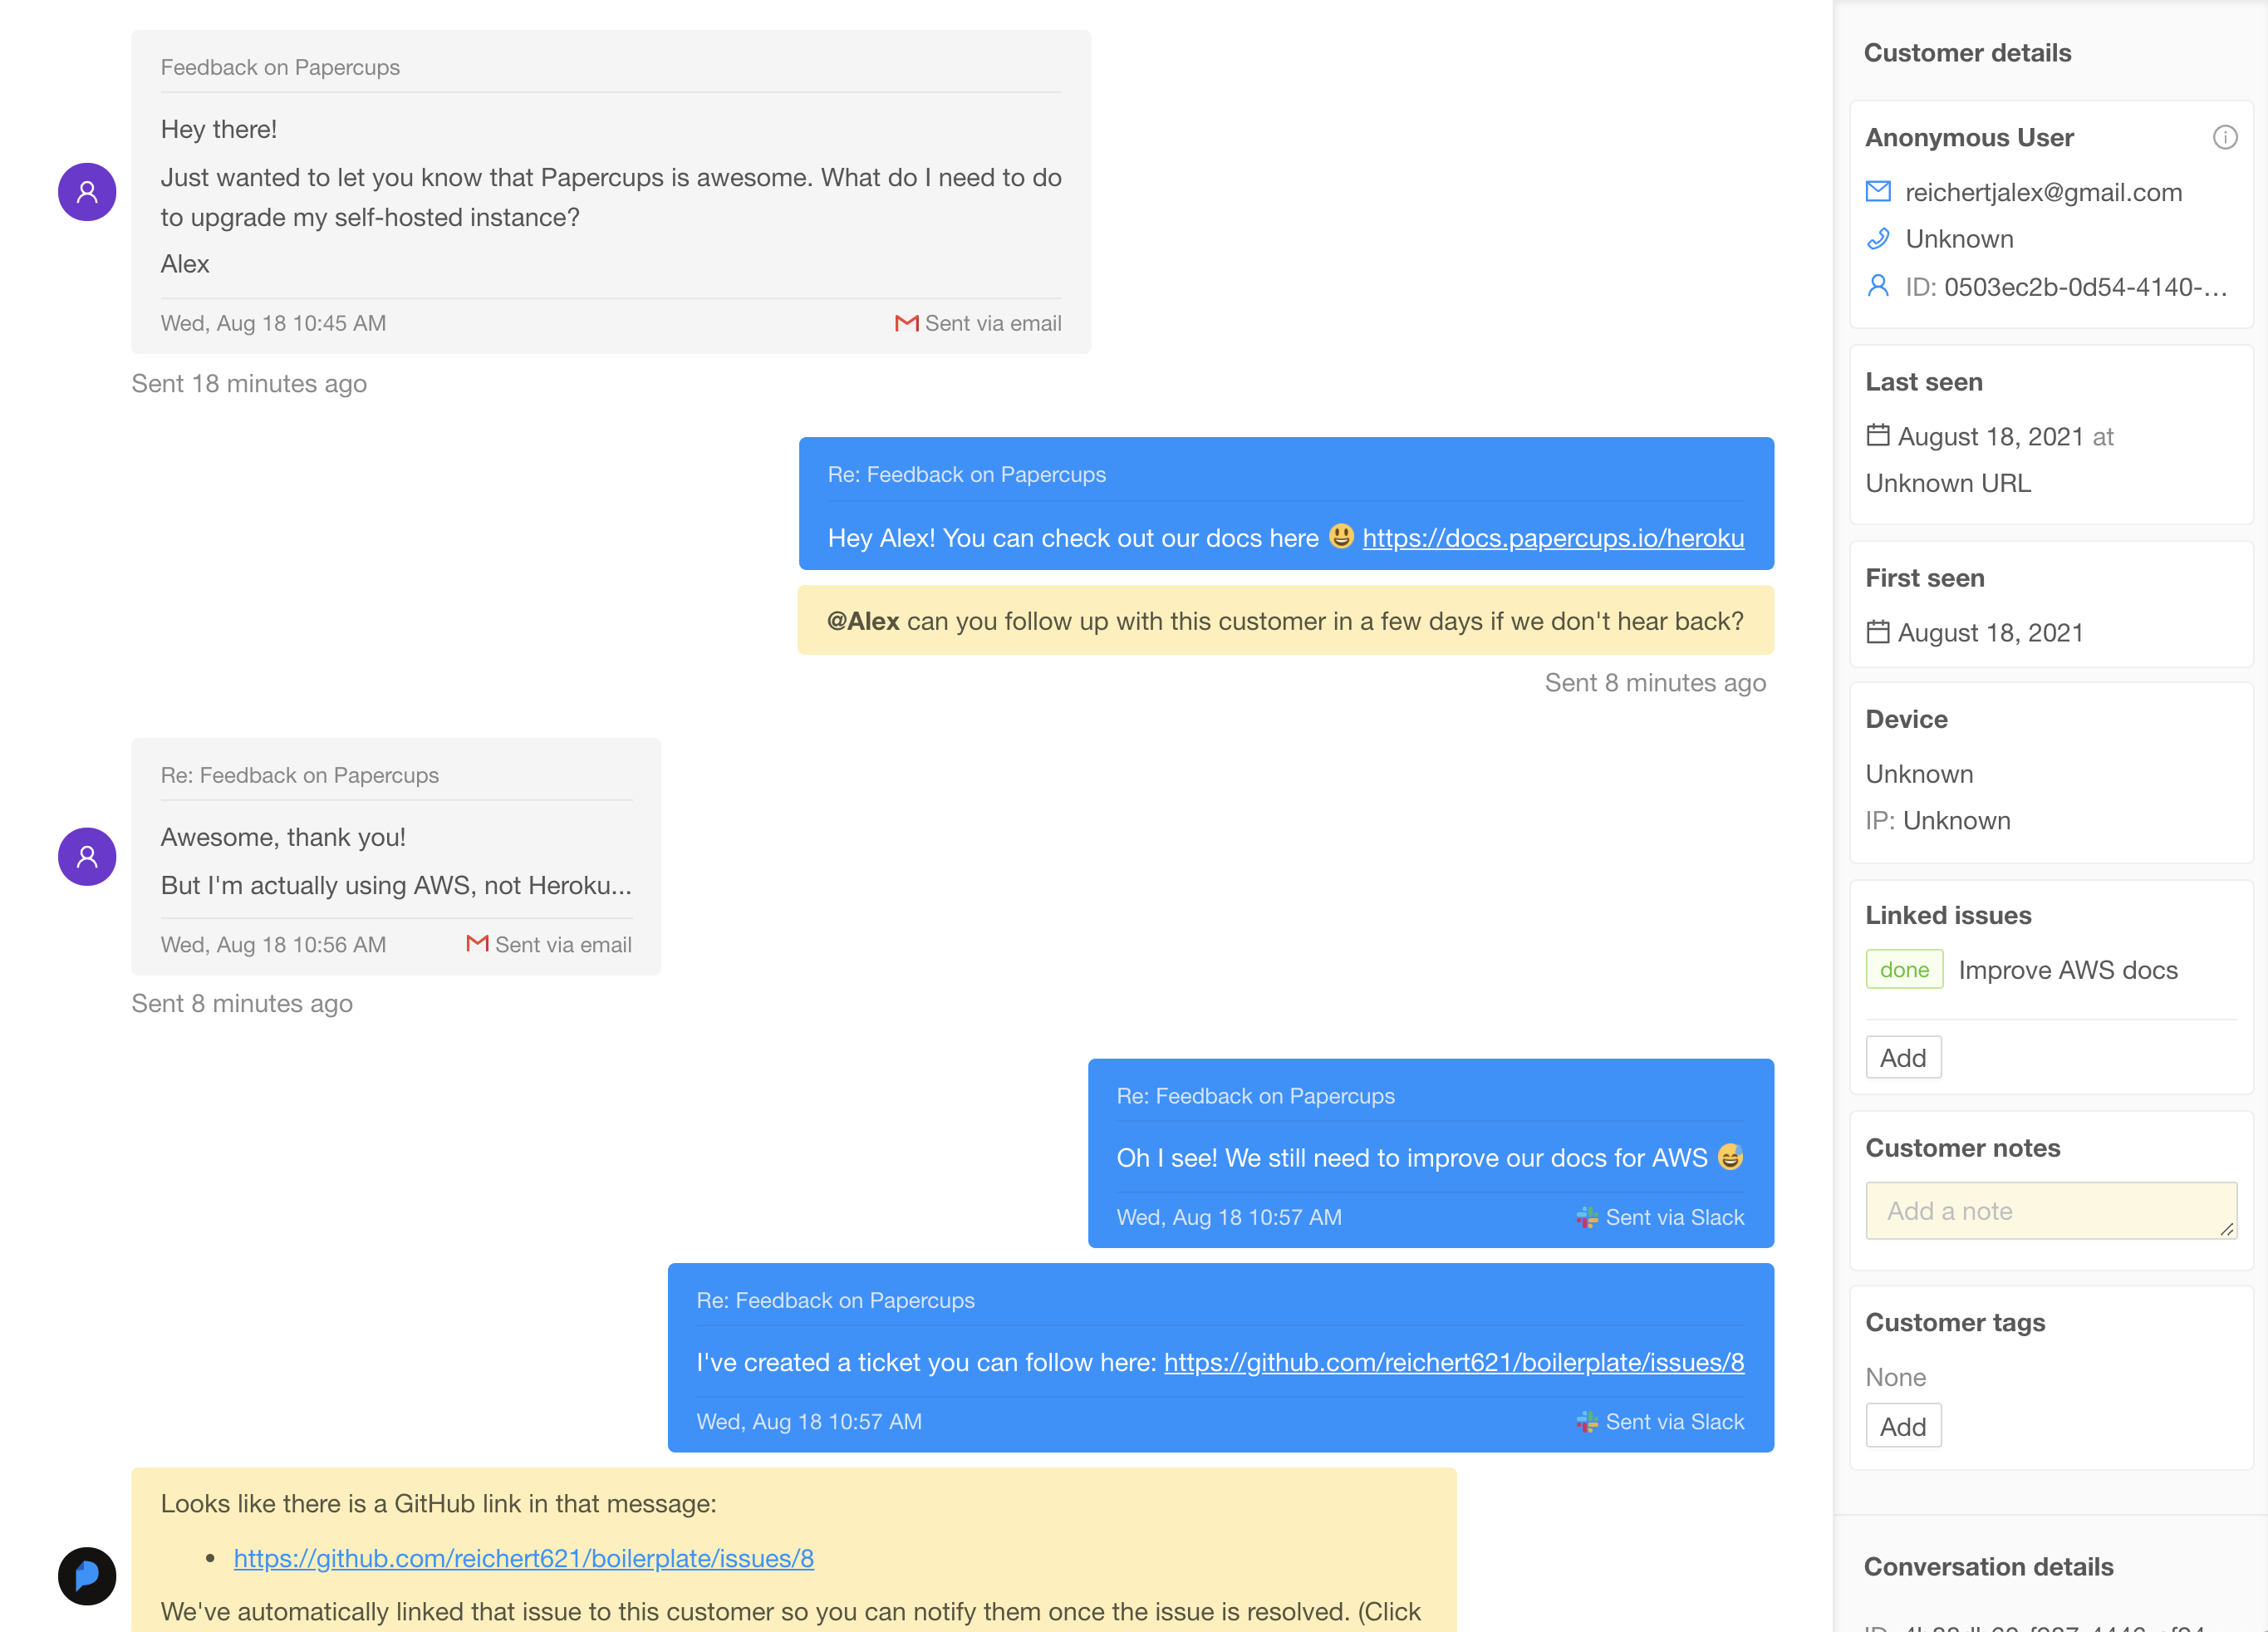
In the Papercups Inbox, an agent can view the conversation and could also reply to the user: